I had wanted a sensor that detects whether someone is in bed for quite some time. This is particularly useful if you have cats that may trigger motion detectors in the middle of the night and turn on the light.
Admittedly, this could be countered by setting a time limit, but if you need to go to the toilet in the night, the light should still work.
I then decided to order some inexpensive seat sensors for cars. However, these were so small that they only detected me when I was lying in a certain position in bed. In addition, the sensor had to be placed ON the mattress in order to detect anything at all.
This meant that you could feel the sensor and the cable when lying down.
Then I came across this alarm mat*. It is actually designed to ring when someone stands on it. It even works when placed UNDER the mattress.
Make the alarm mat smart
Since the doormat is by no means smart, I had to integrate it into Home Assistant somehow.
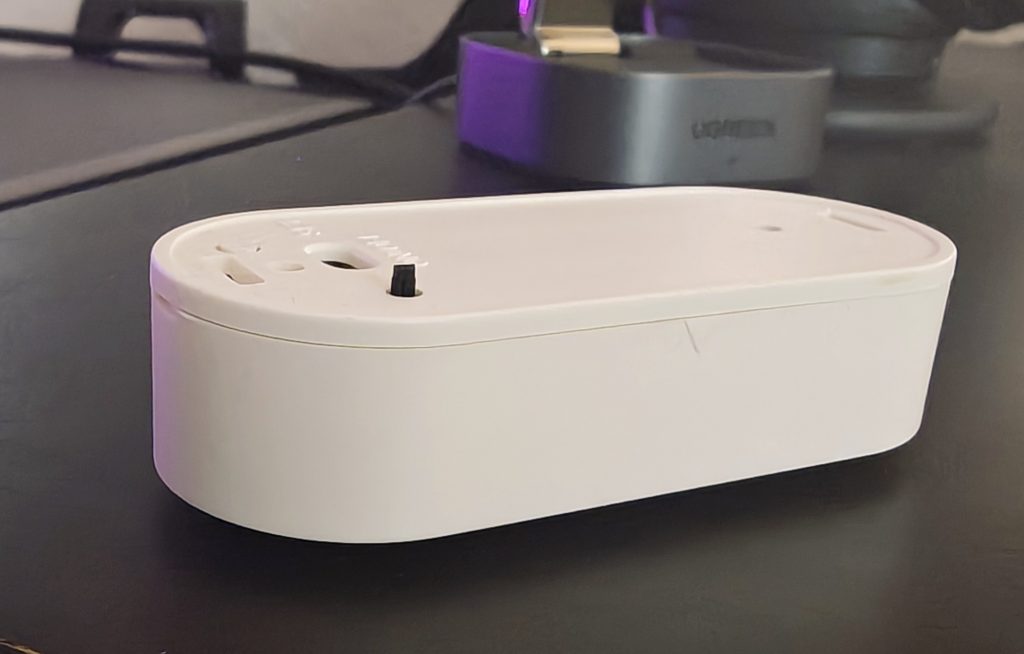
To do this, I bought a cheap Zigbee door contact from Aliexpress.
Door contact sensors usually have a reed contact built in. This switches the power when a magnet is nearby and sends a signal via Zigbee to Home Assistant. The aim is to bridge the reed contact with the cable of the doormat. This would allow electricity to flow as soon as someone stands on the mat. Easy!
Unfortunately, my door contact did not have a reed contact, but a Hall sensor. This also switches the power, but does so electronically rather than mechanically, like the reed contact. This meant that I couldn’t simply bridge it.
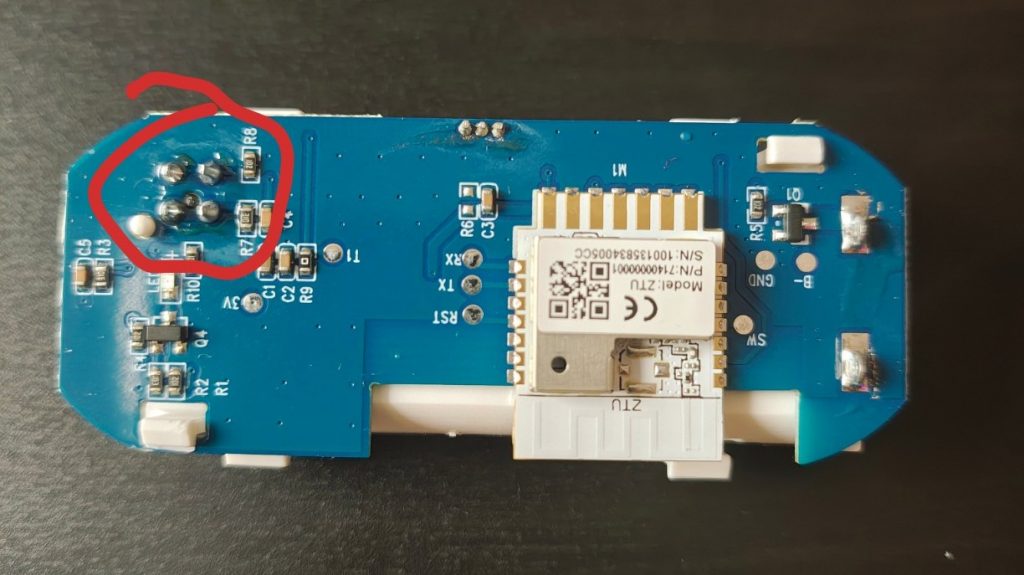
Fortunately, the door contact had an additional function: tamper protection.
This is a small pin that is pressed in when the door contact is attached to the door. If the door contact is removed, the pin is no longer pressed in. This tamper protection is also available as a sensor in Home Assistant!
And since this pin is a simple on/off switch, I was able to use it instead of the missing reed sensor to connect the mat.
To do this, I soldered the cables to two diagonally opposite points.
Add to Home Assistant
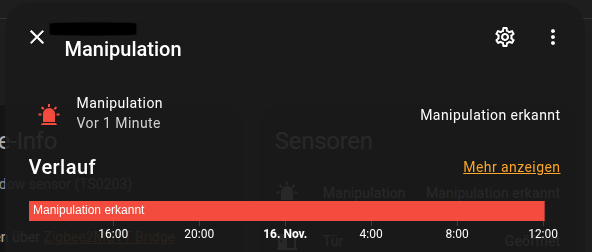
This is what it looks like in Home Assistant
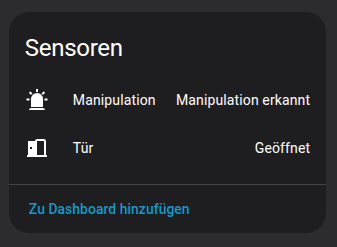
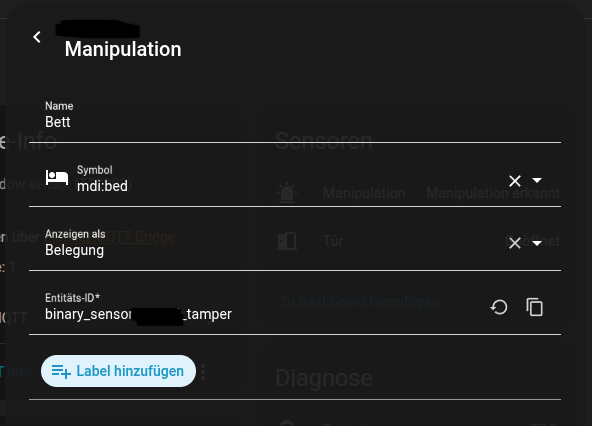
Of course, I don’t want it to say ‘Manipulation’ there, so let’s change it to Home Assistant. To do this, we click on the sensor and then on the gear icon.
There we can now enter our desired values. I have chosen ‘Assignment’ here.
Future plans for this sensor
This sensor allows you to automate a number of things:
- Turn off lights, heating and sockets when you go to bed
- Set your mobile phone to ‘Do Not Disturb’ mode
- Turn on the night light when you get up
- Start a playlist to wake up to
- Have upcoming appointments read aloud
Troubleshooting
Depending on which connections are used for soldering, the sensor may function in exactly the opposite way to what is intended. In my case, ‘Free’ was displayed when I was lying in bed. That’s why I used the HACS add-on ‘Spook’ to create a helper that simply reverses the sensor.